
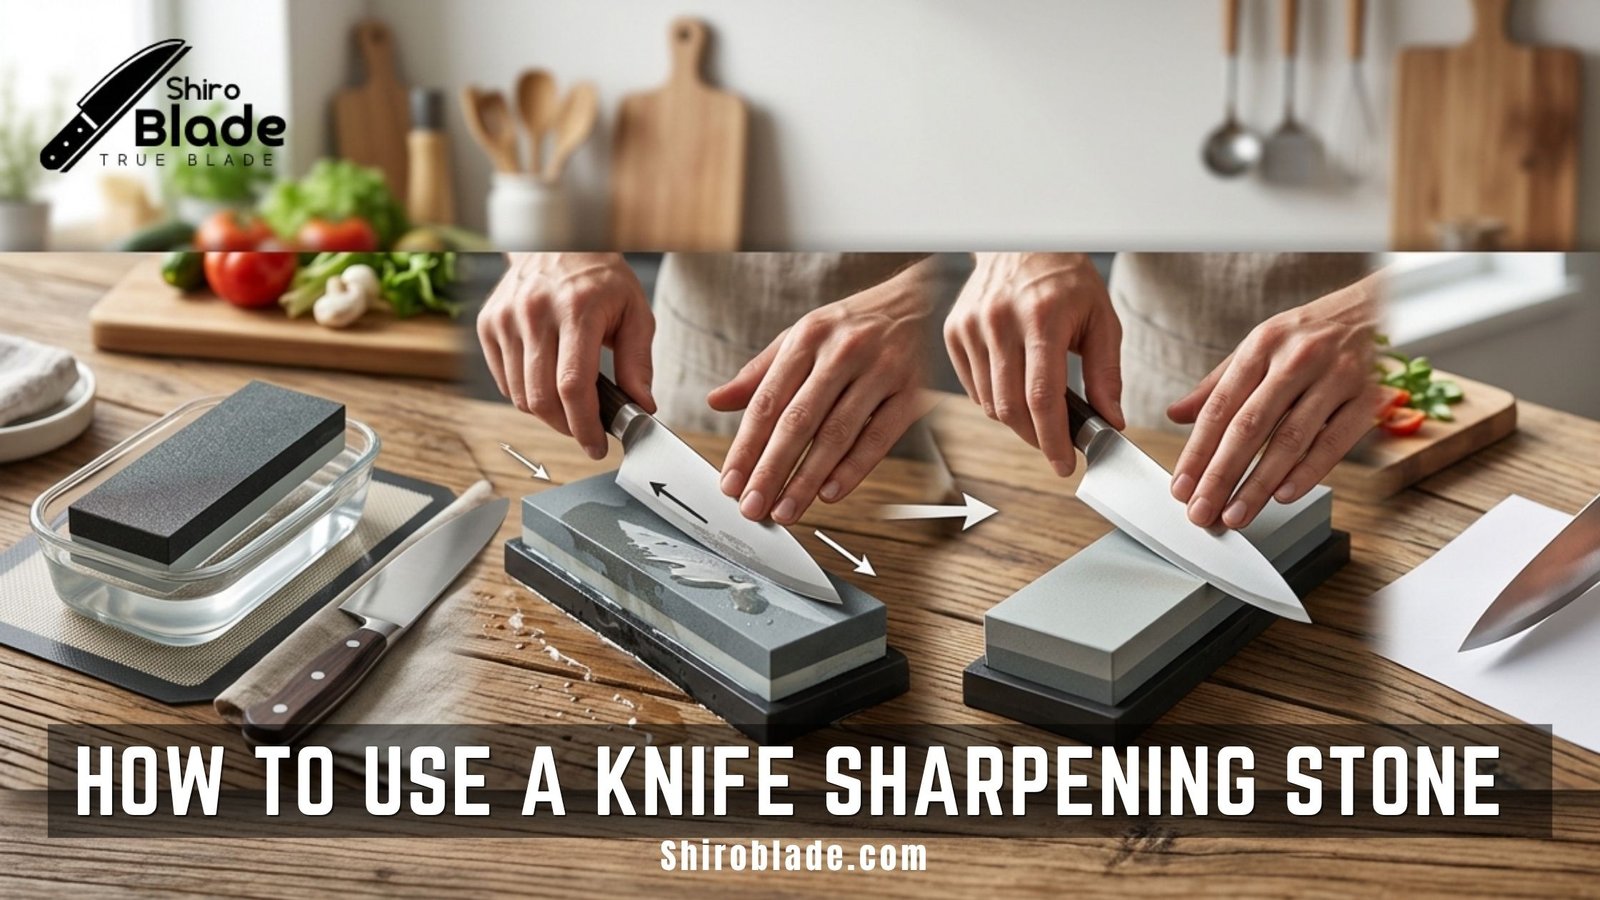
A sharpening stone (also called a whetstone) is the best way to bring a dull knife back to a clean edge. It costs little, lasts for years and works on everything from a ₹200 kitchen knife to a Japanese gyuto.
This guide shows you how to use a knife sharpening stone in five steps: set the angle, raise a burr, flip, finish and test. You need a steady hand and about ten minutes.
Affiliate disclosure: Some links on this page are Amazon.in affiliate links. If you buy through them, I may earn a small commission at no extra cost to you. Read the disclosure.
Short Answer: How to Use a Knife Sharpening Stone
Wet the stone and set it on a non-slip base. Hold the knife at about 15° to 20°, then push the edge across the stone from heel to tip with light pressure until a burr (a thin ridge of metal) forms along the whole edge. Flip the knife, repeat on the other side, finish with a few light strokes and test the edge on paper or a tomato.
| Step | What to do | Key tip |
|---|---|---|
|
1. Wet and secure the stone |
Soak or splash the stone, then put a wet cloth under it |
Follow the instructions for your stone type |
|
2. Set the angle |
Hold the blade at 15° to 20° per side |
Use 20° if you are unsure |
|
3. Sharpen the first side |
Push heel to tip with light pressure |
Stop when a burr forms along the full edge |
|
4. Flip and repeat |
Same angle, same number of strokes |
The burr moves to the first side |
|
5. Finish and test |
Light strokes on the fine side, rinse, dry |
Slice paper or a tomato |
What a Sharpening Stone Does (and When You Need One)
Every time you cut, the very edge of the blade rolls over or wears away. That is what a dull knife is. A sharpening stone grinds off a thin layer of steel from both sides of the blade until the two sides meet again at a fine point.
This is different from honing. A honing rod only straightens an edge that has rolled over. It does not remove steel. If your knife still slips on a tomato after honing, you need a stone.
Budget knives made from 3Cr13 or 4116 stainless steel are soft, so they sharpen quickly on a stone. They also go dull faster, which makes a stone a good habit for them. If you are not sure what your knife is made of, read our guide to types of kitchen knives and their steels.
Your knife needs a stone when:
- The skin of a tomato slides or squashes instead of being cut
- An onion is crushed instead of sliced
- You have to press hard to get through carrots or pumpkin
- You see a thin shiny line along the edge under light (a dull edge reflects it)
Knife Sharpening Stone Grit Explained
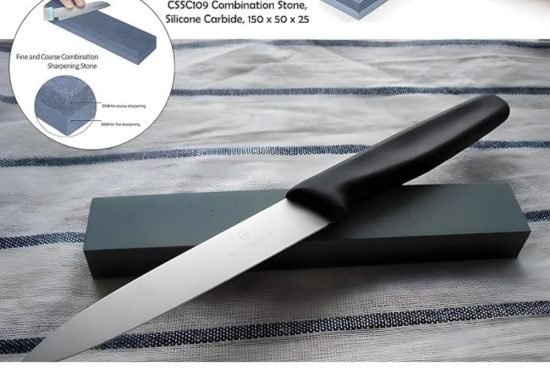
The grit number tells you how coarse the stone is. A low number means big particles that remove steel fast. A high number means fine particles that leave a smoother edge.
| Grit range | Type | Use it for |
|---|---|---|
|
200 to 400 |
Coarse |
Chipped edges and badly damaged knives. Removes a lot of steel, so use it rarely |
|
800 to 1500 (1000 is common) |
Medium |
Regular sharpening. This does most of the real work at home |
|
3000 to 8000 |
Fine |
Finishing the edge for smoother cuts |
Many stones are sold as a combination stone with two grits, one on each side (for example 1000 and 3000). For a home kitchen, the medium side does the sharpening and the fine side finishes. You do not need all three grits.
What You Need Before You Start
- A sharpening stone: medium grit for regular sharpening
- Water: a cup or small bowl next to the stone
- A wet kitchen cloth: goes under the stone so it does not slide
- A dry cloth: to wipe the blade after sharpening
- A permanent marker (optional): helps you check your angle
Work on a flat, stable counter. Keep your fingers behind the edge and always cut away from yourself.
How to Use a Knife Sharpening Stone: 5 Steps
1. Wet and Secure the Stone
Check the instructions for your stone. Many whetstones need soaking in water for 10 to 15 minutes, until air bubbles stop rising. Splash-and-go stones need only a few splashes. Use water, not oil, unless your stone is a dedicated oil stone.
Place a damp cloth under the stone so it cannot move. Keep the stone wet while you work. The grey paste (slurry) that builds up is normal and helps cutting, so do not wash it off.
2. Set the Right Angle
Western-style and budget kitchen knives are usually sharpened at about 20° per side. Thinner Japanese knives are usually sharpened at about 15°. If you are not sure, use 20°. It is forgiving and strong. Our guide to Japanese kitchen knife types explains why Japanese blades are different.
An easy way to find the angle: stand the knife upright at 90°, tilt it to half of that (45°), then half again (about 22°). Lower the spine slightly and you are near 20°.
To check it, colour both sides of the edge with a permanent marker and make two or three strokes. If the ink wears off evenly across the bevel (the angled edge face), your angle is right. If ink disappears only at the very edge, you are holding the spine too high. If it disappears only above the edge, you are holding it too low.
3. Sharpen the First Side Until a Burr Forms
Hold the handle with your dominant hand and place two or three fingers of the other hand flat on the blade near the edge. Start with the heel (the back of the blade) on the far end of the stone, edge facing away from you.
Push the blade forward and across the stone, sliding from heel to tip in one smooth stroke. Lift lightly and bring it back. Use light pressure, just enough to keep the blade steady. The stone does the work. For a long blade, do the heel half and the tip half separately so the angle stays steady.
Start with about 10 strokes, then check for a burr. Slide your thumb gently across the edge from the spine toward the edge, on the side you did not sharpen. Never run it along the edge. A burr feels like a tiny rough lip. When you feel it along the whole edge from heel to tip, stop. No burr means keep going for a few more strokes.
Soft budget steels raise a burr quickly, often within a couple of minutes of work.
4. Flip the Knife and Repeat
Turn the knife over and sharpen the other side at the same angle with the same number of strokes. The burr will move to the side you sharpened first. Finish with alternating light strokes on each side (3, then 2, then 1) to remove the burr.
5. Finish on the Fine Side and Clean the Blade
If you have a combination stone, flip it to the fine side and make 5 to 10 light strokes on each side of the knife. Rinse the blade, wipe it dry straight away and check the edge. Budget stainless steel can still rust if left wet.
How to Test the Edge
- Paper test: hold a sheet of printer paper by one corner and slice down. A sharp edge cuts cleanly without snagging or tearing.
- Tomato test: rest the edge on a ripe tomato. A sharp knife bites into the skin with almost no pressure.
Never test the edge on your thumb. If the knife fails, go back to step 3 and look for the burr again.
5 Common Mistakes When Using a Sharpening Stone
- Changing the angle mid-stroke: rocking your wrist rounds the edge and makes it duller.
- Pressing too hard: it wears the stone, creates a heavy burr and makes the knife slip.
- Letting the stone dry out: a dry stone clogs and scratches the blade. Splash water as needed.
- Skipping the burr check: without it you either stop too early or keep grinding for no reason.
- Uneven strokes: more strokes on one side gives a lopsided edge that pulls to one side when cutting.
Knives You Should Not Sharpen on a Stone
- Serrated knives (bread knives): the teeth need a tapered rod, not a flat stone.
- Ceramic knives: a normal stone cannot cut ceramic. They need a diamond sharpener.
- Single-bevel Japanese knives (yanagiba, deba): they are sharpened differently, with only the flat back touched lightly.
Deep chips need the coarse side first. If you only have a fine stone, a chipped edge will take a very long time to fix.
How Often to Sharpen and How to Look After the Stone
Use the tomato test rather than a calendar. Most home cooks who use a knife daily need a stone every few months. A quick hone in between keeps the edge straight for longer.
After use, rinse the stone, let it dry fully in the open air and store it in a dry place. Do not leave a soaking-type stone in water for days.
With time the middle of the stone wears into a dip, which ruins your angle. Flatten it by rubbing it on wet-and-dry sandpaper stuck on a flat tile or glass sheet until the surface is level again.
Conclusion
Using a knife sharpening stone comes down to three things: a steady angle, light pressure and checking for the burr. Practise once on an old knife and it becomes a ten-minute job.
If a stone feels like too much work, a pull-through sharpener is easier to start with. See our picks of the best knife sharpeners in India. If your knife is a budget one, our guide on how to choose a kitchen knife explains what to look for next time.
FAQs
What grit stone should I use to sharpen a kitchen knife?
A medium stone around 1000 grit is right for regular sharpening. Use a coarse stone (200 to 400) only to fix chips, and a fine stone (3000 or higher) to finish the edge.
Do I need to soak a sharpening stone?
It depends on the stone. Many whetstones need 10 to 15 minutes in water until bubbles stop. Splash-and-go stones only need water splashed on top. Check the instructions for yours.
How many strokes does it take to sharpen a knife on a stone?
There is no fixed number. Start with about 10 strokes per side, then check for a burr. Stop when you feel it along the whole edge, and use the same number of strokes on each side.
What angle should I sharpen a kitchen knife at?
About 20° per side for Western-style and budget kitchen knives, and about 15° for thinner Japanese knives. Use 20° if you are unsure.
Can I use a sharpening stone on a cheap knife?
Yes. Soft stainless steels like 3Cr13 and 4116 sharpen quickly on a stone, so a few minutes of work can bring them back to a good edge.
How do I know when my knife is sharp enough?
It should slice printer paper cleanly and bite into a tomato skin with almost no pressure. If it slips or squashes, keep sharpening.

Indian knife collector with a deep respect for Japanese knife making. What began as an interest in Damascus patterns grew into a focused study of Japanese knives from Sakai and Seki. Through Shiroblade, I share simple guides on buying, using, and caring for knives, helping readers understand real craftsmanship beyond looks.



Pingback: 7 Types of Knife Sharpeners: Which One to Buy? - ShiroBlade
Pingback: How to Sharpen a Knife at Home: 4 Easy Methods - ShiroBlade